
As data centers evolve to meet the demands of modern applications, network engineers are increasingly turning to open networking solutions like SONiC (Software for Open Networking in the Cloud). Enterprise SONiC provides a flexible, feature-rich platform for building scalable data center networks. However, like any network operating system, proper configuration and management are essential for successful deployment.
In this article, I’ll walk you through the fundamental aspects of configuring and managing SONiC devices, covering everything from initial setup to advanced management features. Whether you’re just getting started with SONiC or looking to optimize your existing deployment, understanding these basics will help you build a solid foundation for your network infrastructure.
Getting Started with SONiC CLI
SONiC offers multiple user interfaces, including click, vtysh, and klish. In this article, we’ll focus on “sonic-cli” (also known as Klish), which is the industry-standard CLI for Enterprise SONiC. If you’re working in the default SONiC mode (click), you can access Klish mode by entering:
sonic-cli
All configuration starts at Global Configuration mode. Some commands apply at the interface level, which I’ll highlight throughout this article.
Configuring Device Hostname
One of the first tasks when setting up a new switch is configuring its hostname. This helps identify the device in your network. Here’s how to set a hostname in SONiC:
hostname <host-name>
For example:
hostname Leaf1
Note that the prompt won’t change to the newly configured hostname until you log back in.
Management Interface Configuration
SONiC switches include a dedicated Out-of-Band (OOB) management interface, referred to as “Management 0” or “eth0”. While in-band management is supported, OOB is recommended for management traffic.
By default, the management interface is configured for DHCP, but you can manually configure an IP address as follows:
interface Management <mgmt-if-id>
ip address <addr> { { [ gwaddr <gw_addr> ] } | [ secondary ] ] }
For example:
interface Management 0
ip address 10.1.1.1/24 gwaddr 10.1.1.254
To verify your configuration:
show interface management
show ip interfaces
show running-config interface management 0
Management VRF
Virtual Routing and Forwarding (VRF) provides network segmentation at Layer 3. By default, a SONiC switch only contains the default VRF. You can create a management VRF with the following command in Global configuration mode:
ip vrf mgmt
When you create a VRF with the name “mgmt”, the management interface (eth0) is automatically added to it. This doesn’t erase any existing IP address on eth0.
To verify your VRF configuration:
show ip vrf
Configuring NTP
Network Time Protocol (NTP) ensures time synchronization across your network devices. Here’s how to configure NTP on a SONiC switch:
ntp server { <ip> | <server-name> }
ntp source-interface { Ethernet | Loopback | Management | PortChannel | Vlan }
For example:
ntp server 192.168.2.37
ntp source-interface Management 0
To verify your NTP configuration:
show ntp server
Authentication Configuration
Configuring TACACS+
Terminal Access Controller Access-Control System Plus (TACACS+) provides centralized authentication, authorization, and accounting. Configuring TACACS+ involves three steps:
- Configure the AAA authentication method:
aaa authentication login default group tacacs+ local
aaa authentication failthrough enable
The “local” method allows local authentication when TACACS+ fails, and “failthrough” enables fallback to the next method if the first method fails.
- Configure a TACACS+ server:
tacacs-server host <host> [ port ] <port-val> [ timeout ] <timeout-val> [ key ] <keyval> [ type ] <type-val> [ priority ] <priority-val>
For example:
tacacs-server host 1.1.1.1 key test123 type login
- Verify your configuration:
show aaa
show tacacs-server host
show tacacs-server global
Configuring RADIUS
Remote Authentication Dial-In User Service (RADIUS) is another authentication protocol supported by SONiC. The configuration is similar to TACACS+:
- Configure the AAA authentication method:
aaa authentication login default group radius local
aaa authentication failthrough enable
- Configure a RADIUS server:
radius-server host 10.10.10.10 auth-port 1812 key key123
- Verify your configuration:
show aaa
show radius-server
Role-Based Access Control (RBAC)
RBAC allows you to define different privilege levels for various roles within your Network Operations Center (NOC). For example, a network operator might need read-only access, while a network admin requires both read and write access.
In SONiC, RBAC can be implemented through TACACS+ server responses that include a “priv-lvl” value as a user attribute:
- priv-lvl = 1: Network Operator Role (Read-Only access)
- priv-lvl = 15: Network Admin Role (Read-Write access)
For users defined directly on the switch, roles can be assigned as follows:
username <user-name> password { <passwd> { role <rl> } }
The “Operator” role assigns Read-Only privilege, while the “Admin” role assigns Read-Write privilege.
For example:
username guest password password1234 role operator
username sudoer password sudopassword role admin
Syslog Configuration
Syslog allows you to send log messages to a remote server for centralized logging. Here’s how to configure syslog:
logging server <host> [ remote-port <vrport> ] [ source-interface { Ethernet | Loopback | Management | PortChannel | Vlan } ] [ vrf { mgmt | <vrf-name> } ]
For example:
logging server 1.1.1.1 source-interface Management 0 vrf mgmt
To verify your syslog configuration:
show logging servers
sFlow Configuration
sFlow is a sampling technology for monitoring network traffic. Configuring sFlow in SONiC involves two steps:
- Define the sFlow agent-id (source interface) and collector:
sflow agent-id { <phy-if-name> | <vlan-if-name> | <loop-if-name> }
sflow collector <ip> [ <port> ] [ vrf <vrf_name> ]
- Enable sFlow on a specific interface:
interface Ethernet 5
sflow enable
sflow sampling-rate 256
To verify your sFlow configuration:
show sflow
show sflow interface
SNMP Configuration
Simple Network Management Protocol (SNMP) is essential for network monitoring. SONiC supports both SNMPv2 and SNMPv3.
SNMPv2 Configuration
snmp-server community <name> [group]
SNMPv3 Configuration
snmp-server view <view-name> <oid-tree> <included/excluded>
snmp-server group <group-name> <any/v2c/v3> <noauth/auth/priv> [read <view-name> write <view-name> notify <view-name>]
snmp-server user <user-name> [group/encrypted/auth]
When using Management VRF, it’s important to explicitly specify the SNMP agent address and VRF:
snmp-server agentaddress <host-addr> { { [ port <udp-port> ] } { [ interface <ifname> ]} }
For example:
snmp-server agentaddress 10.168.8.11 interface mgmt
To verify your SNMP configuration:
show snmp-server community
show snmp-server view
show snmp-server group
show snmp-server user
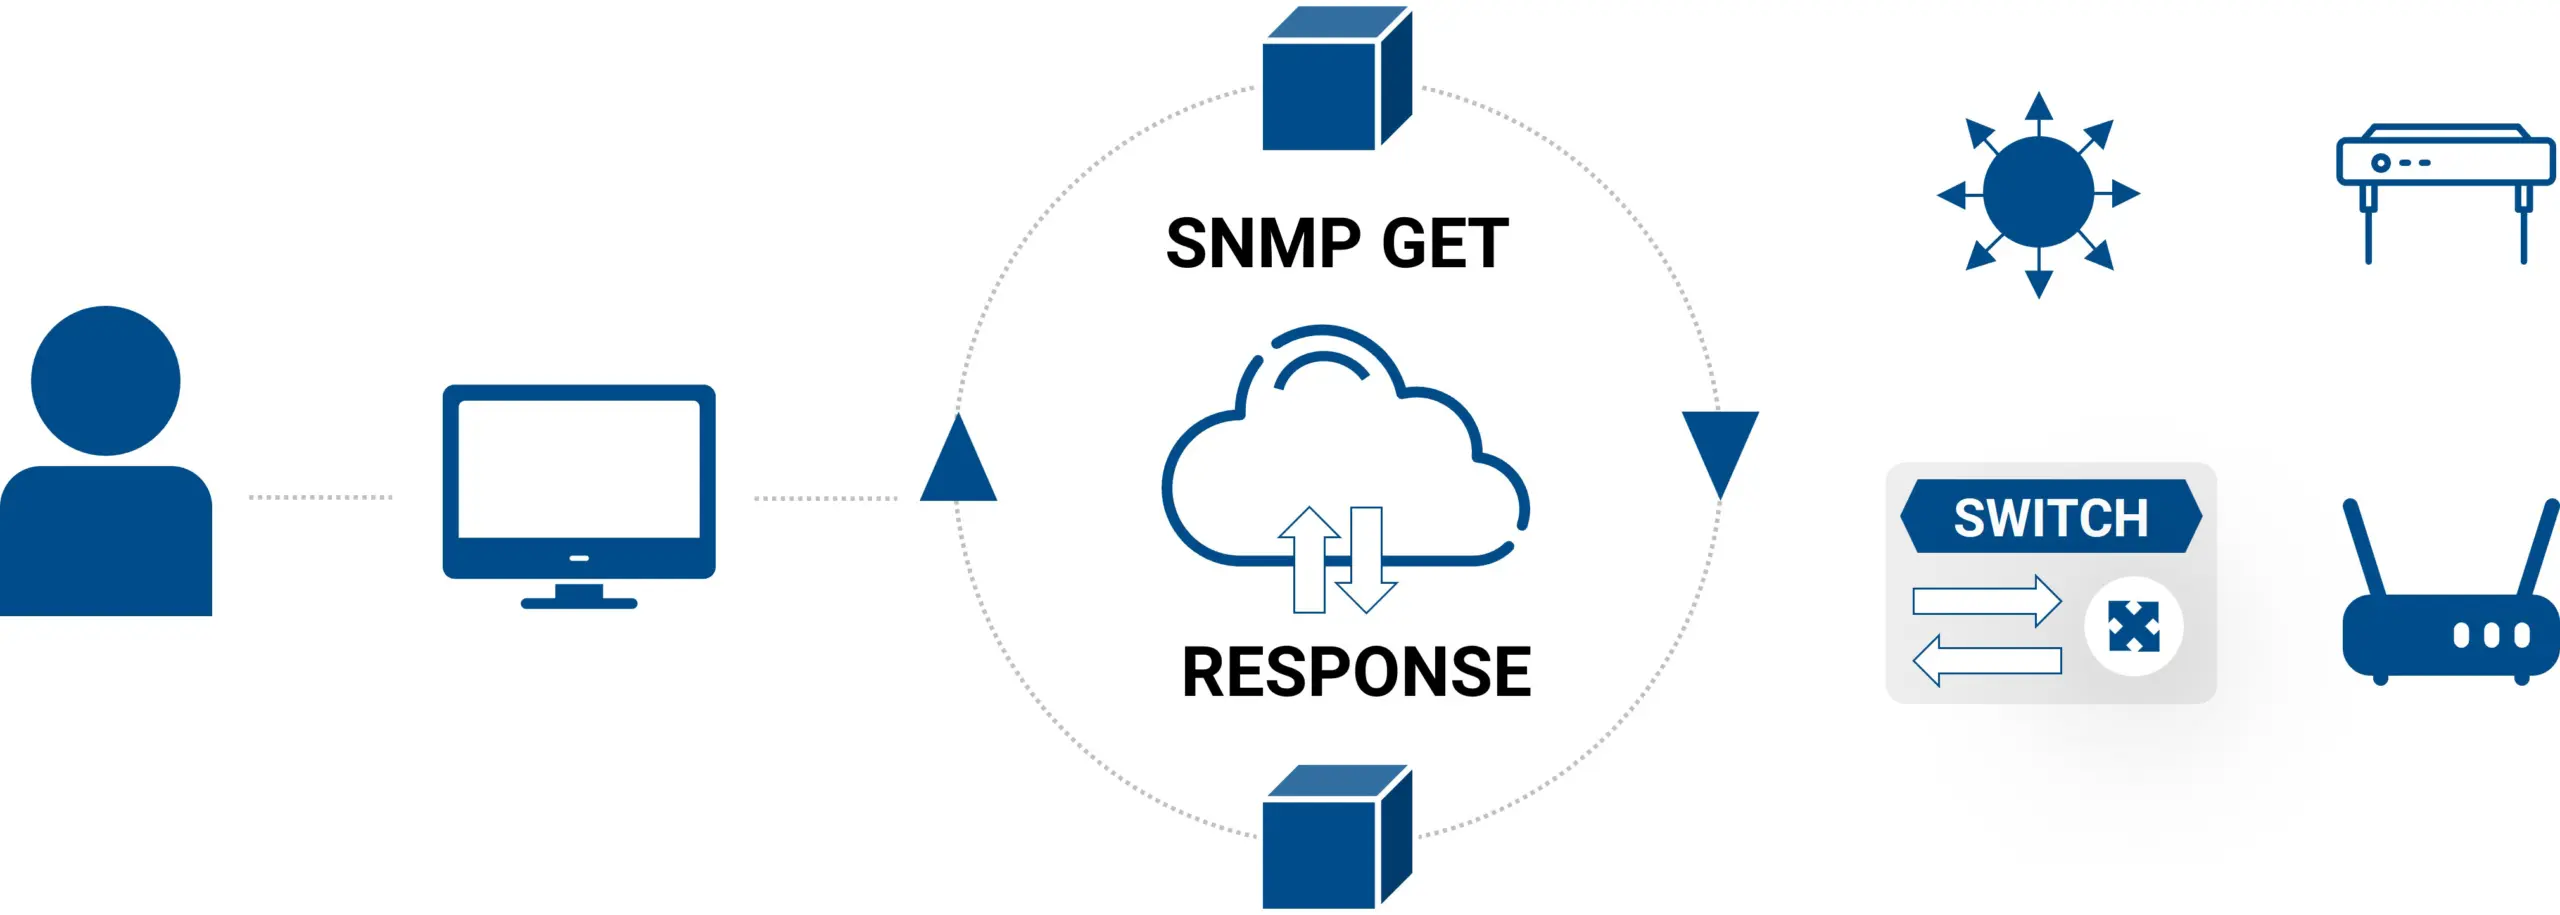
Figure 1: Standards based SNMP support
Storm Control
Storm control helps prevent broadcast, unknown multicast, and unknown unicast storms from overwhelming your network. It’s configured on a per-interface basis:
interface Ethernet 5
storm-control broadcast 100000
The allowed range for all storm control types is 0 to 100,000,000 kbps.
To verify your storm control configuration:
show storm-control
show storm-control interface <interface_name>
Zero Touch Provisioning (ZTP)
Zero Touch Provisioning (ZTP) automates the initial configuration of SONiC switches, allowing for consistent deployment with minimal manual intervention. The ZTP process follows these steps:
- The SONiC switch boots and the ZTP service starts if there’s no startup configuration file (/etc/sonic/config_db.json).
- A DHCP server provides IP connectivity to the management interface and DHCP Option 67, which provides the URL to the ZTP JSON file.
- The ZTP service downloads the ZTP JSON file and processes all configuration sections in lexical sorted order.
- ZTP results are evaluated based on each configuration section, and the ZTP service exits.
A typical ZTP JSON file includes sections for firmware installation, configuration download, and user account creation. For more details on ZTP, refer to Appendix B in the SONiC documentation.
Conclusion
Proper configuration and management of SONiC devices form the foundation of a reliable and efficient data center network. In this article, we’ve covered the essential aspects of basic configuration, including hostname setup, management interface configuration, authentication, monitoring, and automation through ZTP.
By mastering these fundamentals, you’ll be well-equipped to deploy and manage Enterprise SONiC in your data center environment. As you become more comfortable with these basics, you can explore more advanced features like VXLAN, BGP EVPN, and MCLAG, which we’ll cover in future articles.
Remember that consistent configuration practices and proper documentation are key to maintaining a scalable and manageable network infrastructure. With SONiC’s flexible and feature-rich platform, you have the tools you need to build a modern, open networking solution for your data center.