Lab 2: Configuring switch management
What you will learn: how to set a switch’s hostname and management address, statically and by DHCP.
The computer science department at a college has bought a switch with SONiC pre-installed and asked its students to configure it: rename it to r2o-sw1, give it a static management address, and then return it to DHCP.
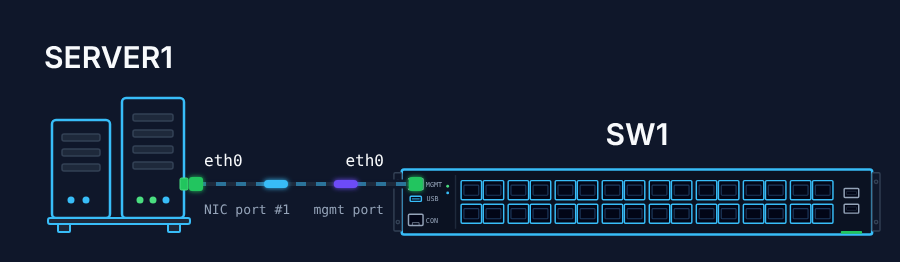
There is a DHCP server, SERVER1, in your management network at 10.10.1.200/24.
Step 1: Change SW1’s hostname
Log in to the switch with the default credentials and change the hostname to r2o-sw1.
Step 2: Configure a static IP address
Configure 10.10.1.100/24 on SW1’s management interface and verify the configuration. Ping SERVER1 to check the connection.
Step 3: Return to DHCP
Set SW1’s management interface back to DHCP by removing every static address (IPv4 and IPv6). Verify the configuration, check that the switch received an address in 10.10.1.0/24 from SERVER1, and ping SERVER1 again.
Hints
- SONiC calls the
eth0portManagement 0. - The default credentials are
admin/YourPaSsWoRd. - SONiC writes the netmask as a prefix after the address: 255.255.255.0 is
/24.