Lab 1: Installing a switch OS with ONIE
What you will learn: how to install SONiC by hand on an open network switch from ONIE.
You are a network engineer at a large cloud provider that has been using proprietary network operating systems on its switches. Management has decided to move to an open-source network operating system for more flexibility and control over the network, and you have been assigned to install SONiC on a switch in the data centre.
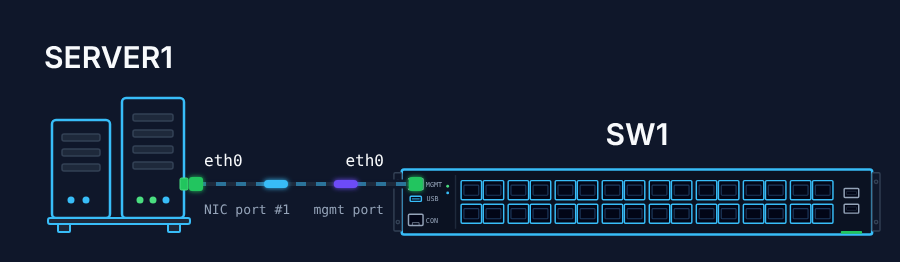
There is an HTTP server, SERVER1, in your management network at 192.168.1.200/24. The SONiC image is already on it as sonic-lab.bin.
Step 1: Configure SW1’s IP address
Give the switch SW1 an IP address that lets it reach SERVER1, and check the connection.
Step 2: Install SONiC on SW1
Log in to ONIE on SW1 and install SONiC.
Step 3: Verify the installation
Log in to SONiC with the default credentials.
Hints
- The switch starts in ONIE: Install OS mode.
- Stopping the ONIE discovery service helps if its messages flood the console.
- Make sure both devices are in the same network and can ping each other.
- Configure the IP address with standard Linux commands.
- The SONiC image is at
http://192.168.1.200/sonic-lab.bin.